Install Apache Solr on CentOS, RedHat
Use this tutorial to install Apache Solr 9.0 on a LinuxMint 20/19/18 system.
Step 1 – Prerequsities
Login to your Linux mint system with a root or sudo privileged account. Apache Solr 8 required Java 8 or greater to run. Make sure your system fulfills the Java requirements of Apache Solr. If you don’t have java installed on your system visit the below articles.
Step 2 – Installing Solr on Linux Mint
Now download the required Solr version from its official site or mirrors. Or simply use the following command to download Apache Solr 9.0 Then extract the install script from the downloaded archive on your system using below command. Now run the installer shell script with the bash shell.
Step 3 – Manage Solr Service
Solr is configured as a service on your system. You can simply use the following commands to Start, Stop and check the status of the Solr service.
Step 4 – Create Solr Collection
After the successful installation of Solr on your system. Create the first collection in Apache Solr using the following command. Sample output:
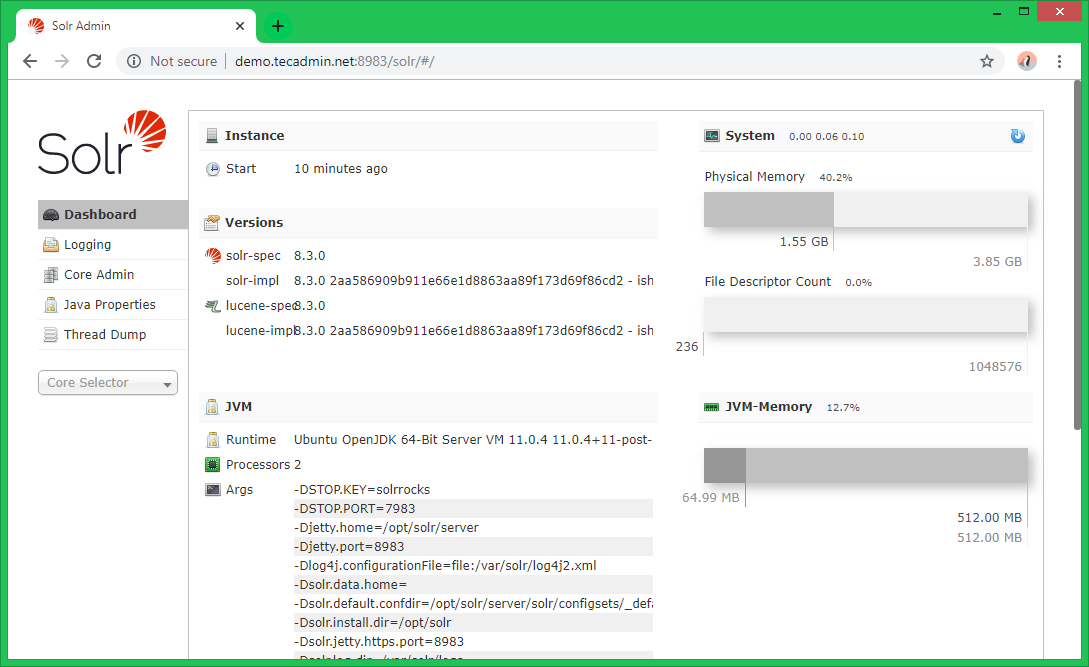
Step 5 – Access Solr Admin Panel
Default Solr runs on port 8983. You can access the Solr port in your web browser and you will get a Solr dashboard.
Here you can view statics of created collection in previous steps named “mycol1”. Click on “Core Selector” on the left sidebar and select created collection.